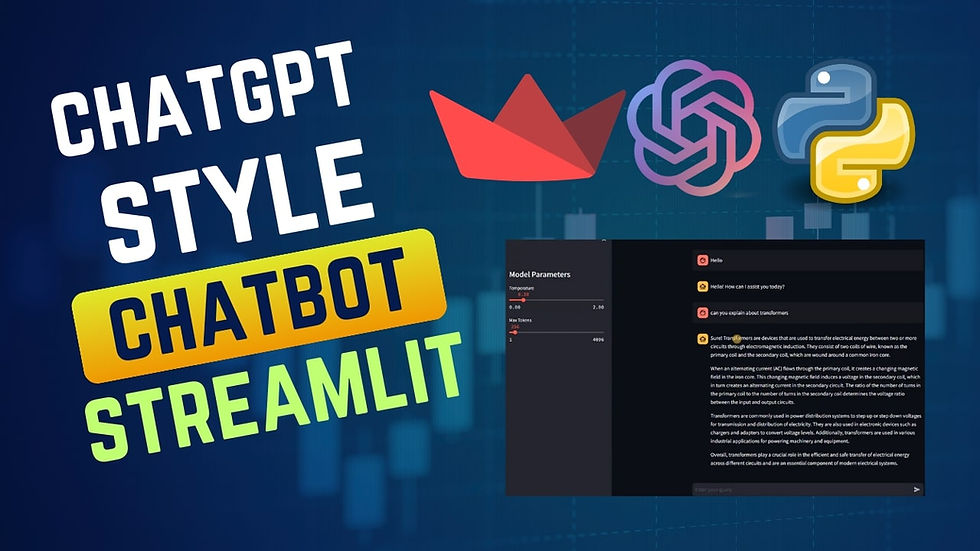
How to Build a ChatGPT-Style Chatbot Using Streamlit and LLMs: A Step-by-Step Guide
- Hackers Realm
- Nov 11, 2024
- 6 min read
In recent years, Large Language Models (LLMs) like OpenAI's GPT-3 have revolutionized the field of conversational AI, enabling the development of intelligent chatbots capable of understanding and generating human-like text. These chatbots can be applied across various domains, from customer support to virtual assistants. However, building such a powerful chatbot can seem daunting, especially for developers without deep expertise in machine learning.

This article will guide you through the process of creating a ChatGPT-style chatbot using Streamlit, a popular framework for building data-driven web applications, and LLMs. We will break down the steps involved, from setting up the environment to integrating the chatbot with an LLM API, and demonstrate how you can build an interactive and functional chatbot with just a few lines of code. Whether you are an experienced developer or new to AI, this tutorial will provide a clear and accessible way to bring conversational AI into your projects.
You can watch the video-based tutorial with a step-by-step explanation down below.
Install Modules
pip install streamlit openaiThis will install streamlit and openai packages which is required for the project.
Import Modules
from openai import OpenAI
import streamlit as st
import os
from openai import OpenAI : import the OpenAI class from the openai library.
import streamlit as st: Streamlit is used to create interactive web apps directly from Python. By importing it as st, you can call Streamlit functions with a shorter alias. For example, instead of typing streamlit.text_input(), you can simply write st.text_input().
import os: The os module allows interaction with the operating system. It’s commonly used to handle environment variables, file system operations, and process management.
Create ChatGPT-Style Chatbot
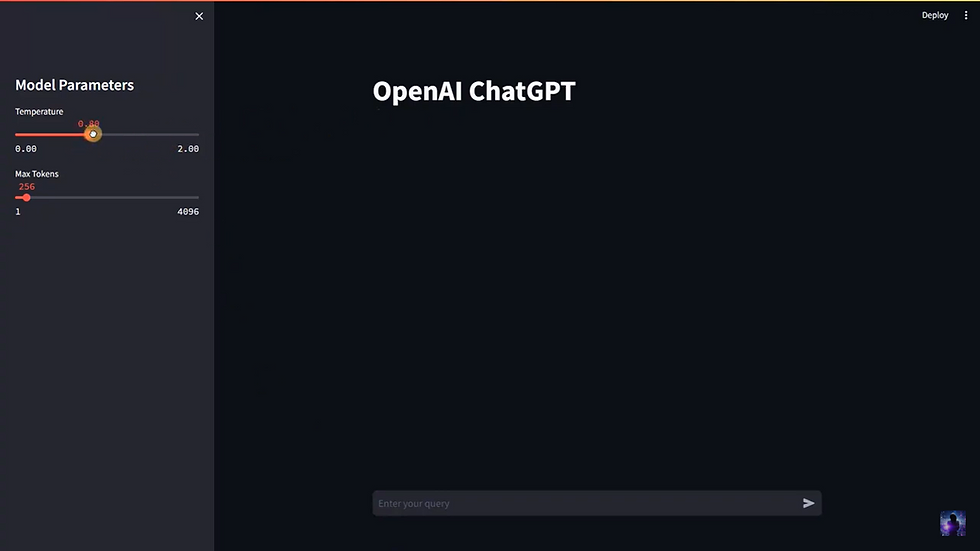
First we will set the title for the Streamlit app page.
# give title to the page
st.title('OpenAI ChatGPT')st.title(): This is a Streamlit function used to display a large, bold title at the top of the page.
'OpenAI ChatGPT': This is the string that will appear as the title on the page.
Next we will initialize the session variables.
# initialize session variables at the start once
if 'model' not in st.session_state:
	st.session_state['model']=OpenAI(api_key=os.getenv('OPENAI_API_KEY'))

if 'messages' not in st.session_state:
    st.session_state['messages'] = []
Checking and Initializing the Model :
st.session_state['model'] ensures that the app only creates the OpenAI model instance once, instead of re-initializing it with each user interaction (such as typing a new message).
If 'model' does not exist in session_state, it creates a new instance of OpenAI (assuming that OpenAI is a class for handling the API). This uses an API key retrieved from the environment variable OPENAI_API_KEY.
This allows the API connection to remain persistent throughout the app session, optimizing efficiency and reducing redundant API initializations.
Checking and Initializing the Message History
st.session_state['messages'] is initialized as an empty list to store the conversation history between the user and the chatbot.
Each time a new message is sent, it will be appended to this list, allowing the app to keep track of the chat history.
Persisting messages in session_state enables Streamlit to maintain the conversation context, so users can see previous messages and responses during the session.
Next we will create a sidebar in the Streamlit app that allows users to adjust parameters for the language model, specifically temperature and max tokens.
# create sidebar to adjust parameters
st.sidebar.title('Model Parameters')
temperature = st.sidebar.slider("Temperature", min_value=0.0, max_value=2.0, value=0.7, step=0.1)
max_tokens = st.sidebar.slider('Max Tokens', min_value=1, max_value=4096, value=256)
Sidebar Title
Sets a title in the sidebar labeled "Model Parameters."
Provides a clear section header, indicating that the controls below are related to the configuration of the language model’s behavior.
Temperature Slider
Creates a slider in the sidebar labeled "Temperature" with a range from 0.0 to 2.0.
min_value=0.0 and max_value=2.0: Define the range of the slider.
value=0.7: Sets the default value to 0.7.
step=0.1: Allows the slider to move in increments of 0.1.
Temperature controls the randomness of the model’s output. A lower temperature (e.g., 0.2) makes responses more deterministic and focused, while a higher temperature (e.g., 1.5) makes responses more creative and diverse.
Allowing users to adjust temperature helps customize the chatbot’s personality to suit specific needs.
Max Tokens Slider
Creates a slider in the sidebar labeled "Max Tokens" with a range from 1 to 4096.
min_value=1 and max_value=4096: Define the range of token values allowed.
value=256: Sets the default number of tokens to 256.
Max Tokens limits the length of the response generated by the model. A lower value makes responses shorter, while a higher value allows longer, more detailed responses.
Adjusting max tokens can help control response length based on the specific use case or resource limitations.
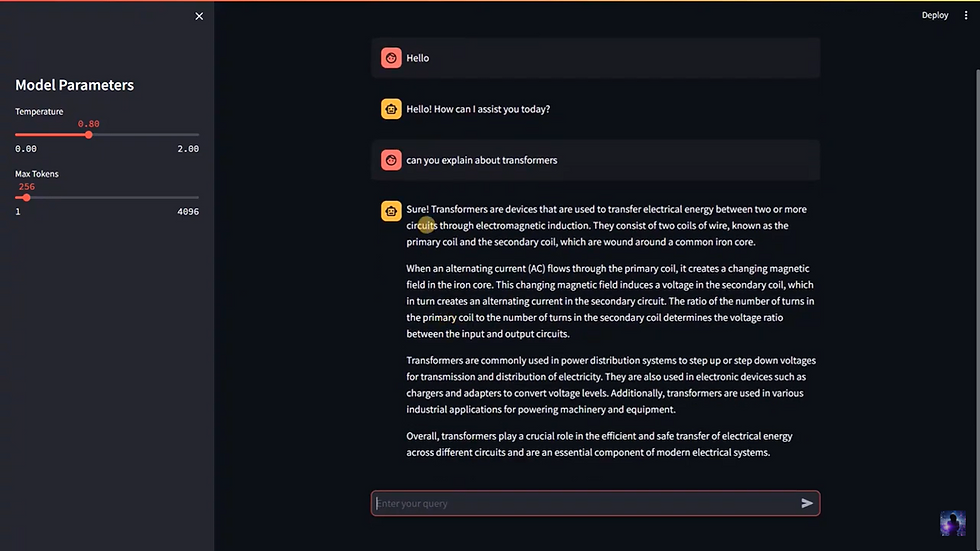
Next we will update the Streamlit interface to display the chat history by iterating over each message stored in st.session_state['messages'].
# update the interface with the previous messages
for message in st.session_state['messages']:
    with st.chat_message(message['role']):
        st.markdown(message['content'])
Accessing and Iterating Through st.session_state['messages']: The line for message in st.session_state['messages']: loops through each message stored in st.session_state['messages']. This session state variable keeps track of all conversation exchanges, where each message is a dictionary with two keys:
'role': Identifies who sent the message, typically as 'user' (for user-input messages) or 'assistant' (for chatbot responses).
'content': Holds the text of the message itself.
Setting Up a Context Block with st.chat_message() Based on Message Role: Within the loop, we use with st.chat_message(message['role']): to open a context block. The st.chat_message() function in Streamlit allows for distinct visual styles based on role (either 'user' or 'assistant'). Here’s how it works:
User Messages: When message['role'] is 'user', the function styles messages as user inputs.
Assistant Messages: When message['role'] is 'assistant', the message is styled as a chatbot response.
By distinguishing messages by role, this function visually separates user questions from chatbot answers, making the conversation flow clear and easy to follow.
Next we will create an interactive chat interface in the Streamlit app, allowing users to input a query and immediately see it displayed on the screen.
if prompt := st.chat_input("Enter your query"):
    st.session_state['messages'].append({"role": "user", "content": prompt})
    with st.chat_message('user'):
        st.markdown(prompt)

    # get response from the model
    with st.chat_message('assistant'):
        client = st.session_state['model']
        stream = client.chat.completions.create(
            model='gpt-3.5-turbo',
            messages=[
                {"role": message["role"], "content": message["content"]} for message in st.session_state['messages']
            ],
            temperature=temperature,
            max_tokens=max_tokens,
            stream=True
        )

        response = st.write_stream(stream)
    st.session_state['messages'].append({"role": "assistant", "content": response})


st.chat_input() is a Streamlit function that generates an input field specifically designed for chat applications, labeled here as "Enter your query".
When the user enters text in this input field and submits it, the text is captured and stored in the prompt variable.
The := operator (known as the "walrus operator") assigns the user’s input directly to prompt while also evaluating it within the if condition. This means the subsequent code block only executes if the user has entered text.
Next we will append the user’s message to st.session_state['messages'].
By storing each message in session_state, we retain the full conversation history, allowing the interface to display previous messages as the chat continues.
Each message is stored as a dictionary containing two keys:
"role": Set as "user" to identify this as a user-generated message.
"content": Contains the actual text of the user’s query (the prompt variable).
st.chat_message('user') creates a block styled to represent user messages (distinct from chatbot messages).
st.markdown(prompt) renders the text input as Markdown, which is versatile and supports rich text formatting if needed.
Opening the block with st.chat_message('assistant') ensures that the assistant’s message will have a distinct style, differentiating it from the user’s messages.
st.session_state['model'] contains an instance of the model client, such as OpenAI’s API, which will generate responses based on the conversation context.
Next we will specify the model to use (gpt-3.5-turbo), which is a language model designed for chat interactions.
The messages parameter includes a list of all messages so far, allowing the model to generate a response that considers the full conversation.
temperature: Controls randomness or creativity in responses. Higher values produce more varied answers.
max_tokens: Limits the response length, helping avoid overly long responses.
Setting stream=True means the response will be sent incrementally rather than waiting for the entire message, improving user experience.
st.write_stream processes the response as it arrives, so the user sees the assistant’s message appearing line by line.
The assistant’s response is added to st.session_state['messages'] to preserve conversation history and allow for continued context in future responses.
This setup provides a seamless, interactive chat experience where users can ask questions and receive contextually relevant responses.
Run the App
streamlit run <filename>.py
This will create a local server where you can get the url of the webpage for the interaction.
Final Thoughts
Building a ChatGPT-style chatbot with Streamlit and LLMs opens up exciting possibilities for creating engaging, interactive applications powered by language models.
This tutorial has demonstrated how to seamlessly combine the simplicity of Streamlit’s interface with the advanced capabilities of an LLM, allowing you to capture and display user input, manage conversation history, and generate dynamic responses.
Whether you’re developing a customer support assistant, an educational tool, or an interactive personal assistant, this framework provides a strong foundation. By experimenting with different model parameters like temperature and max tokens, you can customize the chatbot’s personality and response style to fit your specific use case.
This project also highlights how session management and response streaming can enhance user experience, making interactions feel more fluid and natural. With Streamlit’s rapid development capabilities and the power of LLMs, creating your own chatbot is now more accessible than ever. So, feel free to build on this foundation, add more features, and refine your chatbot to suit your unique needs. Happy coding!
Get the project code from here
Thanks for reading the article!!!
Check out more project videos from the YouTube channel Hackers Realm


Comments