
Face Mask Detection using Python | Object Detection | Deep Learning Project Tutorial
- Hackers Realm
- Apr 16, 2023
- 4 min read

Updated: May 31, 2023
In the wake of the COVID-19 pandemic, face masks have become an essential tool for reducing the spread of the virus. In this blog article, we delve into a deep learning project that uses Object Detection to detect face masks in images. By leveraging a dataset with images of individuals with and without masks, the project develops a model that can detect whether a person is wearing a mask or not in an image. We explore the technical details of the project, including the deep learning architecture used for object detection and the evaluation metrics used to assess the model's performance. With this information, readers can gain a better understanding of how deep learning can be used to solve real-world problems like face mask detection. This project uses Detecto, a Python library for object detection, making it a powerful tool for developers looking to create their own face mask detection solutions.

The model is trained on this dataset to learn the features of masked and unmasked faces and to distinguish between them accurately. Once the model is trained, it can be used for real-time detection of face masks in images or videos.
You can watch the video-based tutorial with a step-by-step explanation down below.
Dataset Information
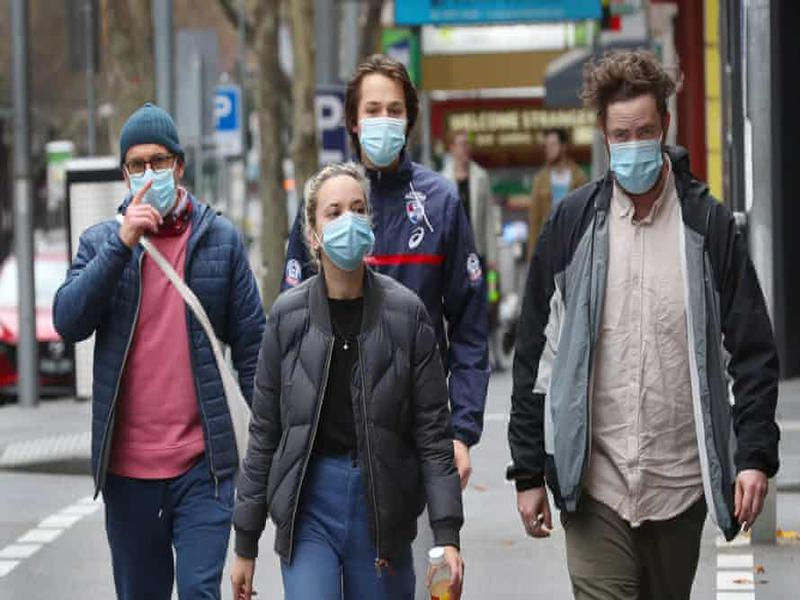
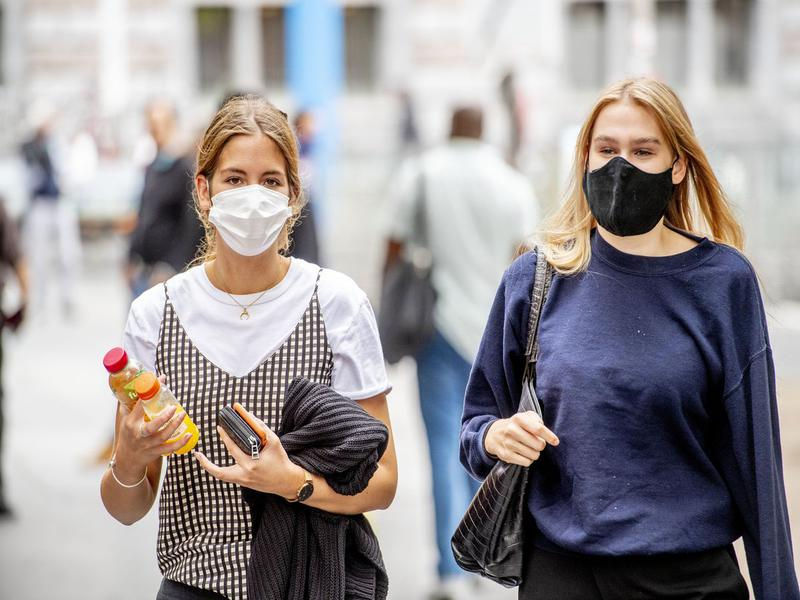
The dataset used for this project is a collection of images various of people wearing masks, collected from the internet. Some of the example images are :

Install Modules
from PIL import Image
import os
import matplotlib.pyplot as plt
from detecto import core, utils, visualize
PIL - provides functionality for opening, manipulating, and saving different image file formats
os - provides a way to interact with the operating system and perform various tasks such as accessing the file system
matplotlib.pyplot - library for creating data visualizations
detecto - popular object detection library that is built on top of the PyTorch deep learning framework
Pre-processing the Data
Format the Images
def format_images(directory, size):
	for i, img in enumerate(os.listdir(directory)):
		im = Image.open(directory+img)im_resize = im.resize(size,Image.ANTIALIAS)
		im_resize.save(directory+str(i)+'.jpg')
		os.remove(directory+img)
format_images('images/', (800, 600))
The provided code defines a function named "format_images" that resizes and renames all the images gathered from the internet before saving them with the new names.
Label the Images
To perform this step a particular library must be installed which is labelimg using “pip3 install labelImg” command in your terminal/command prompt.
 # annotate the images
 !labelImg
After installing “labelImg” use the above code to get started with the labeling images.
A new window opens like the below

Select the directory where the images for training are saved.
Use “CreateRectBox” to select the mask in the image and name it “mask” like the one given in the image.
Repeat the above step for every image in the directory.
Training the Model
dataset = core.Dataset('images/')
model = core.Model(['mask'])
model.fit(dataset)
Create a variable “dataset” and assign all the images saved and annotated/labeled for training
Create a variable “model” and save the labels which were used in labeling and annotations of the images
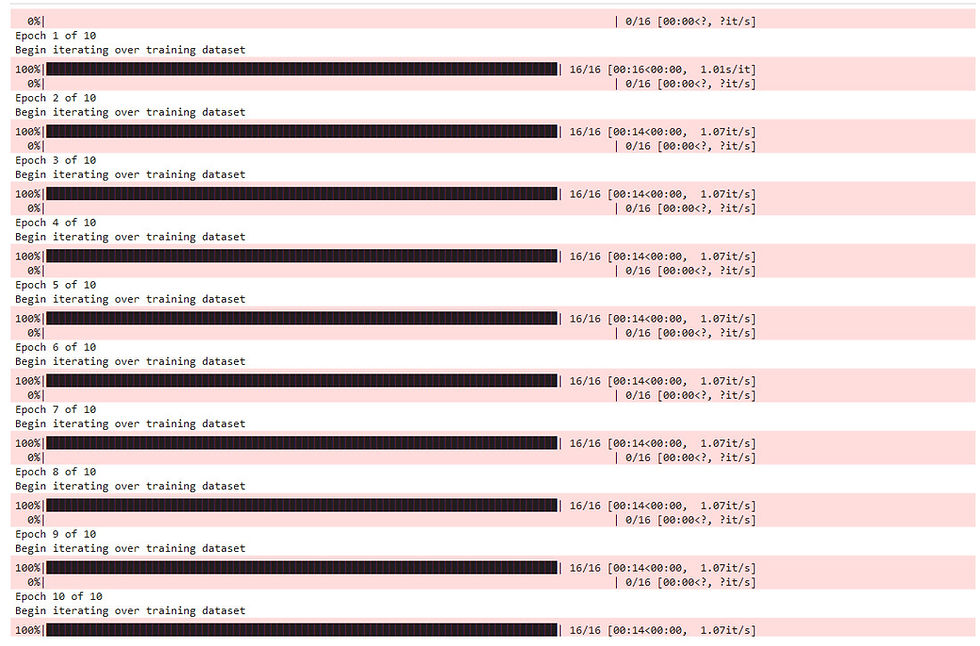
Finally, fit the dataset into the model and train it.
You will see the following result :
Testing the Model
image = utils.read_image('test/test.jpg')
labels, boxes, scores = model.predict_top(image)
print(labels)
print(scores)
visualize.show_labeled_image(image, boxes, labels)
Create a variable image which takes input from the test image/data.
Define three variables labels, boxes, and scores to save prediction and its accuracy score.
Print the required results like detection of object i.e. mask with accuracy score.
For a clear understanding, visualize the data by showing the prediction of the ‘mask’ detected in the image.

Adding Augmentations
from torchvision import transforms
augmentations = transforms.Compose([
    transforms.ToPILImage(),
    transforms.RandomHorizontalFlip(0.5),
    transforms.ToTensor(),
    utils.normalize_transform()
])

dataset = core.Dataset('images/', transform=augmentations)
loader = core.DataLoader(dataset, batch_size=2, shuffle=True)

model = core.Model(['mask'])

losses = model.fit(loader, epochs=10, learning_rate=0.001, lr_step_size=5, verbose=True)
Import the transforms library from torchvision
Define a variable called augmentations and add all the necessary parameters to it as shown in the image.
transforms.ToPILImage() - In PyTorch, the transforms.ToPILImage() function converts a tensor or ndarray with dimensions (H x W x C) and values ranging from 0 to 255 into a PIL Image with dimensions (C x H x W) and values ranging from 0 to 1.
transforms.RandomHorizontalFlip(0.5) - The function transforms. RandomHorizontalFlip(0.5) is used to randomly flip images horizontally with a probability of 0.5. It is commonly used in data augmentation techniques to increase the diversity of the training data and prevent overfitting.
transforms.ToTensor() - The function transforms.ToTensor() is used to convert a PIL Image or a NumPy ndarray with dimensions (H x W x C) and values ranging from 0 to 255 into a PyTorch tensor with dimensions (C x H x W) and values ranging from 0 to 1.
utils.normalize_transform() - commonly used in computer vision tasks such as image classification and object detection to normalize the input data before feeding it to the model.
Now define two variables dataset and loader, to load all the images for augmentation.
Lastly, test the above augmented model.
image = utils.read_image('test/test.jpg')
labels, boxes, scores = model.predict_top(image)
print(labels)
print(scores)
visualize.show_labeled_image(image, boxes, labels)Final Thoughts
Training the model by increasing the no. of epochs can give better and more accurate results.
Processing large amount of data can take a lot of time and system resources.
The model architecture used in this project is Faster RCNN Resnet-50.
You may use other image classification models of your preference for comparison.
In this project tutorial, we have explored the Face Mask Detection deep learning project. This is a basic deep learning project to learn image classification analysis and visualize the results through different plots.
Get the project notebook from here
Thanks for reading the article!!!
Check out more project videos from the YouTube channel Hackers Realm


Comments